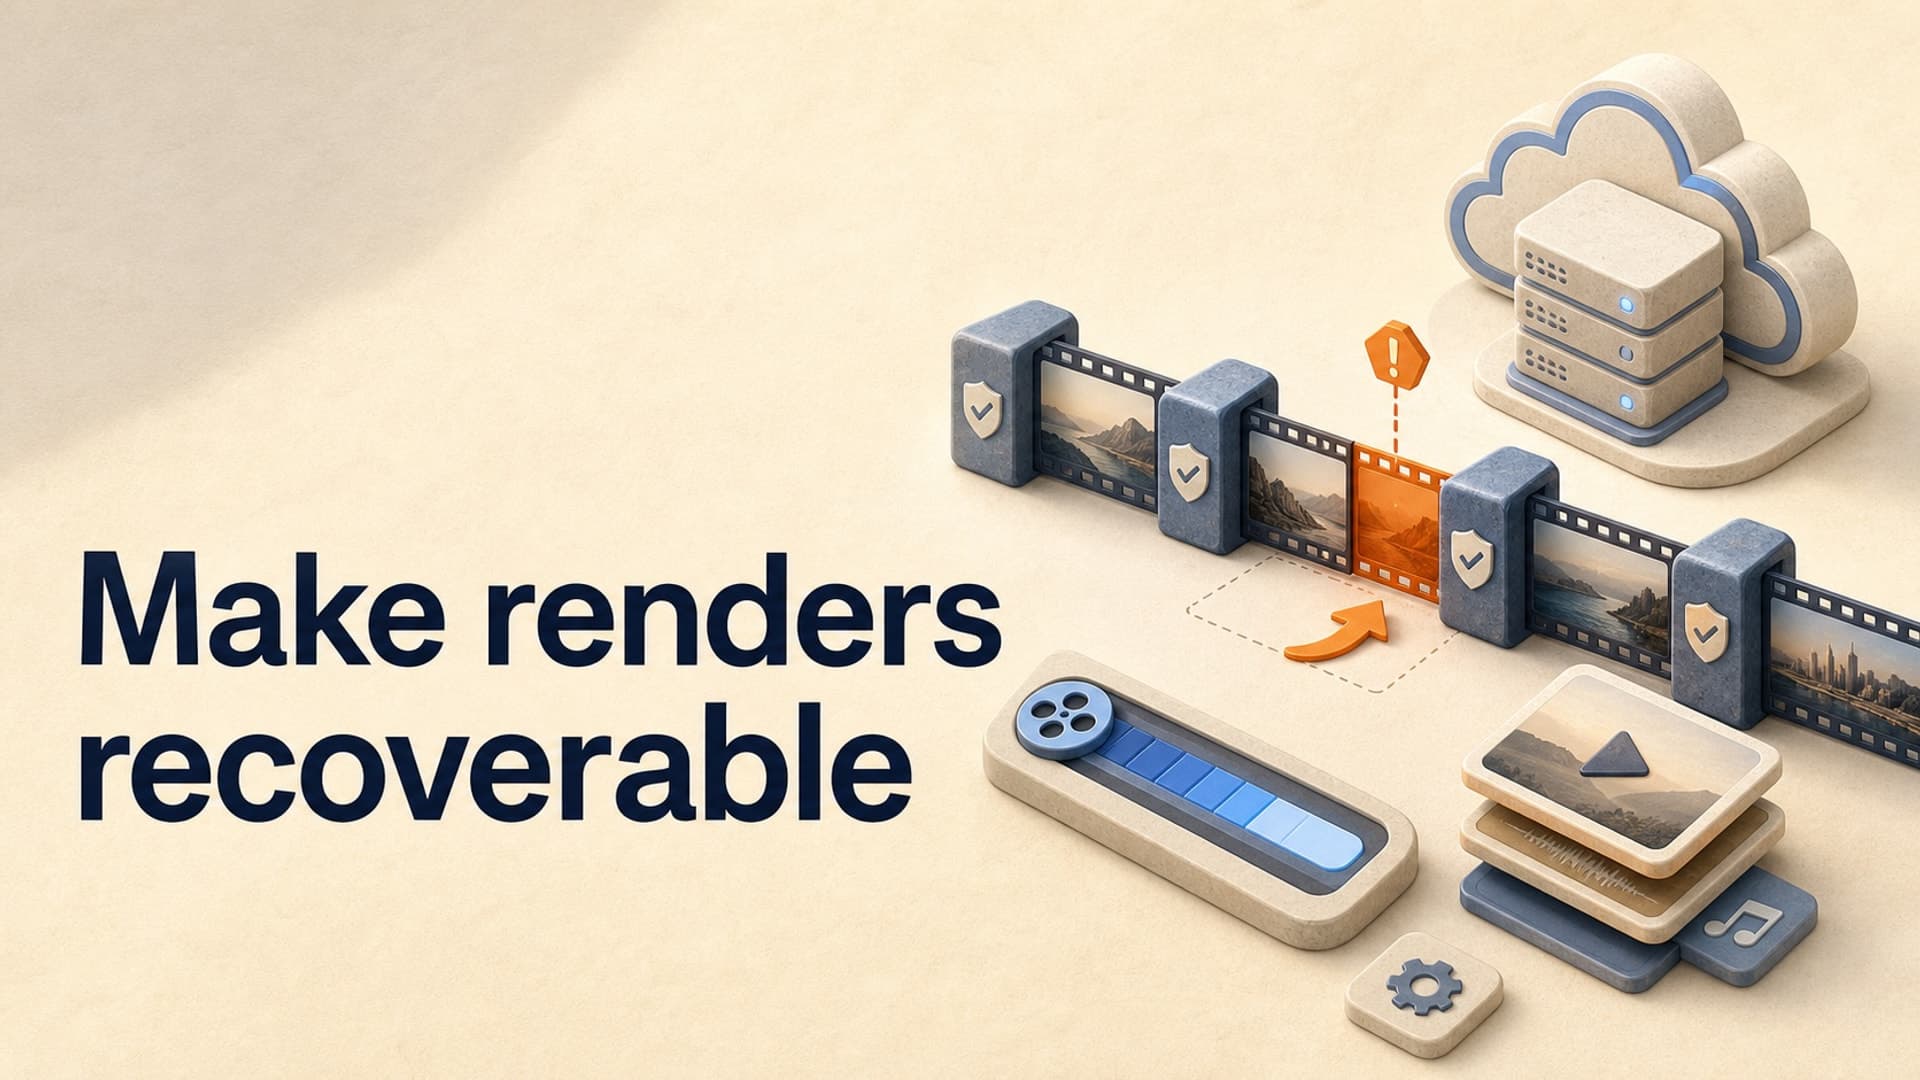
Long-form AI video production has an ugly failure pattern: everything looks finished until the final export reaches 93%, stalls, and sends you back to the beginning.
That is not merely an editing problem. It is a workflow design problem. A 12-minute video can survive a fragile export process because the retry is cheap. A 90-minute documentary, narrated sleep video, or deep explainer cannot. When one bad asset can erase hours of rendering, the pipeline is treating a long-running job like a disposable preview.
The solution is not a faster computer. It is to make the render recoverable.
The Three Failures Creators Often Confuse
Before changing tools or export settings, identify where the failure actually occurs.
The render fails locally
The editing or generation tool stops before producing a complete file. Common signals include an error at roughly the same timestamp, memory use climbing until the process dies, or one visual that displays correctly in a preview but fails during encoding.
The repeatable timestamp matters. If three attempts stop near 42:17, do not render the first 42 minutes again and hope. Inspect the media used around 42:17. Replace or normalize that asset, then test a short range around it.
The exported file is damaged
The render finishes, but the output has missing audio, drift, frozen frames, or a duration that does not match the timeline. This is usually a validation failure. The tool completed a task; it did not necessarily prove that the result is publishable.
Open the actual export, not the editor preview. Check the beginning, several internal transitions, the final minute, and the total duration. A long video needs deliberate spot checks because scrubbing across a timeline can hide errors that appear only during playback.
YouTube is still processing
An accepted upload can remain in SD while HD or 4K processing continues. YouTube says processing time varies with quality, length, format, and traffic. That is different from a broken local export.
Do not rebuild a valid master file just because HD processing is slow. First confirm that the upload completed, the SD version plays, and YouTube Studio shows processing rather than an upload error.
Stop Making the Final Export the First Real Test
The most expensive render is the one that discovers basic compatibility problems.
Before committing to the full video, create a representative 5-10 minute test that includes the hardest material in the project:
- At least one AI-generated clip and one still image
- A transition between two different media types
- Music under narration
- Styled captions, if used
- The highest-resolution source asset
- Any unusual effect, motion treatment, or transparency
This is not a trailer. It is a stress test. A calm opening made from three JPEGs tells you almost nothing about whether the middle of the documentary can survive a dense sequence of clips, captions, and audio layers.
Export the test using the exact codec, resolution, frame rate, and audio settings planned for the final file. Then play it outside the production tool. If it passes, you have tested the render recipe rather than merely the creative idea.
Use a Render Fault Budget
A useful way to judge a workflow is to ask: how much completed work can one failure destroy?
For a 90-minute video rendered as one indivisible job, the fault budget is 90 minutes. A failure near the end can force the entire video to restart. If the same project is rendered in six 15-minute sections, the theoretical loss falls to one section - assuming the workflow can join compatible sections without redoing them all.
That does not mean every creator should manually split every project. It means the production system should have checkpoints. A practical checkpoint can be:
- A completed voiceover stored separately from the visuals
- Finished scene groups that do not need regeneration
- Intermediate video sections using identical export settings
- A final assembly stage that can be retried without recreating every asset
Choose checkpoint size by balancing restart cost against complexity. Five-minute sections create many files and joins. Thirty-minute sections are simpler but expensive to redo. For many 60-120 minute faceless videos, 10-20 minute scene groups are a sensible starting range to test.
The exact number matters less than the principle: one broken scene should not invalidate a complete production.
Normalize Inputs Before They Reach the Timeline
Long-form projects magnify small inconsistencies. A single odd clip can sit unnoticed among hundreds of assets until the encoder reaches it.
Create an input contract for every video:
- One delivery frame rate for the project
- One target canvas size and aspect ratio
- Predictable audio sample rates
- Supported image and video formats
- No corrupt, zero-byte, or partially downloaded files
- A known fallback for assets with missing duration or metadata
YouTube recommends MP4 uploads with H.264 video, progressive scan, AAC-LC or another supported audio codec, and a 48 kHz audio sample rate. It also recommends uploading at the same frame rate at which the content was recorded. Those are delivery recommendations, but they are also a useful reminder: consistency at the boundary makes downstream processing easier to reason about.
Mixed sources deserve special attention. Stock clips, screen recordings, AI-generated clips, and downloaded assets may not share the same frame-rate behavior. Normalize suspicious material before the full render rather than asking the last export to resolve every mismatch at once.
Separate Creative Review From Technical Validation
Watching a video for story quality and validating an export are different jobs. Combining them makes both weaker.
A creative review asks whether the opening earns attention, the argument develops, the narration sounds natural, and visuals support the script. A technical pass asks whether the output is complete, synchronized, decodable, and ready for YouTube.
Use a compact release gate for the technical pass:
- Confirm the exported duration is within a small tolerance of the planned timeline.
- Play the first and final 60 seconds.
- Spot-check every chapter boundary or major scene-group join.
- Confirm narration remains synchronized late in the video.
- Check that the file seeks correctly to several random timestamps.
- Upload as private or unlisted early enough for processing and copyright checks.
The last step is operationally important. YouTube allows verified accounts to upload videos longer than 15 minutes, up to 256 GB or 12 hours, whichever is less. It also notes that HD and 4K processing may take longer. A publication calendar should therefore include processing time instead of assuming the video is ready the moment the upload finishes.
A Worked Recovery Plan for a 90-Minute Documentary
Suppose a 90-minute AI history documentary fails repeatedly near 67 minutes.
The wasteful response is to lower random quality settings and restart the complete export. The recoverable response looks like this:
- Export minutes 63-70 using the final settings.
- If that fails, inspect the assets introduced near the failure point.
- Replace or normalize the suspected clip and rerun only the seven-minute test.
- Preserve already completed narration and visual assets.
- Render the project as six compatible 15-minute sections.
- Validate each section before final assembly.
- Check the joins at 15, 30, 45, 60, and 75 minutes, plus the ending.
Now the diagnosis has a narrow search area, and another failure cannot erase the entire render. Even if the tool ultimately produces one final master file, the creator has converted an all-or-nothing job into a series of verifiable outputs.
Where AutoTube.pro Reduces Render Risk
For creators who do not want to design and maintain this production system themselves, AutoTube.pro is one practical option for long-form faceless videos.
Its cloud rendering moves the multi-hour export away from the creator's laptop, so a local sleep, reboot, or resource shortage does not interrupt the job. The one-shot or step-by-step workflow also lets creators run individual production stages and review between them, while reusable channel presets keep render and style choices consistent across uploads.
That is the useful distinction for long-form work: the product is not just generating another isolated clip. It is carrying a repeatable channel configuration into a complete video workflow, including the final cloud render.
Make the Next Failure Cheap
No production system eliminates every failed asset, encoder error, or slow platform process. A good system makes each failure narrow, diagnosable, and inexpensive to retry.
Before starting your next hour-long video, define the input contract, run one representative stress test, decide where checkpoints belong, and write down the six technical checks that happen before publishing. If a failure can only cost one small section instead of the whole project, the workflow is ready to scale.