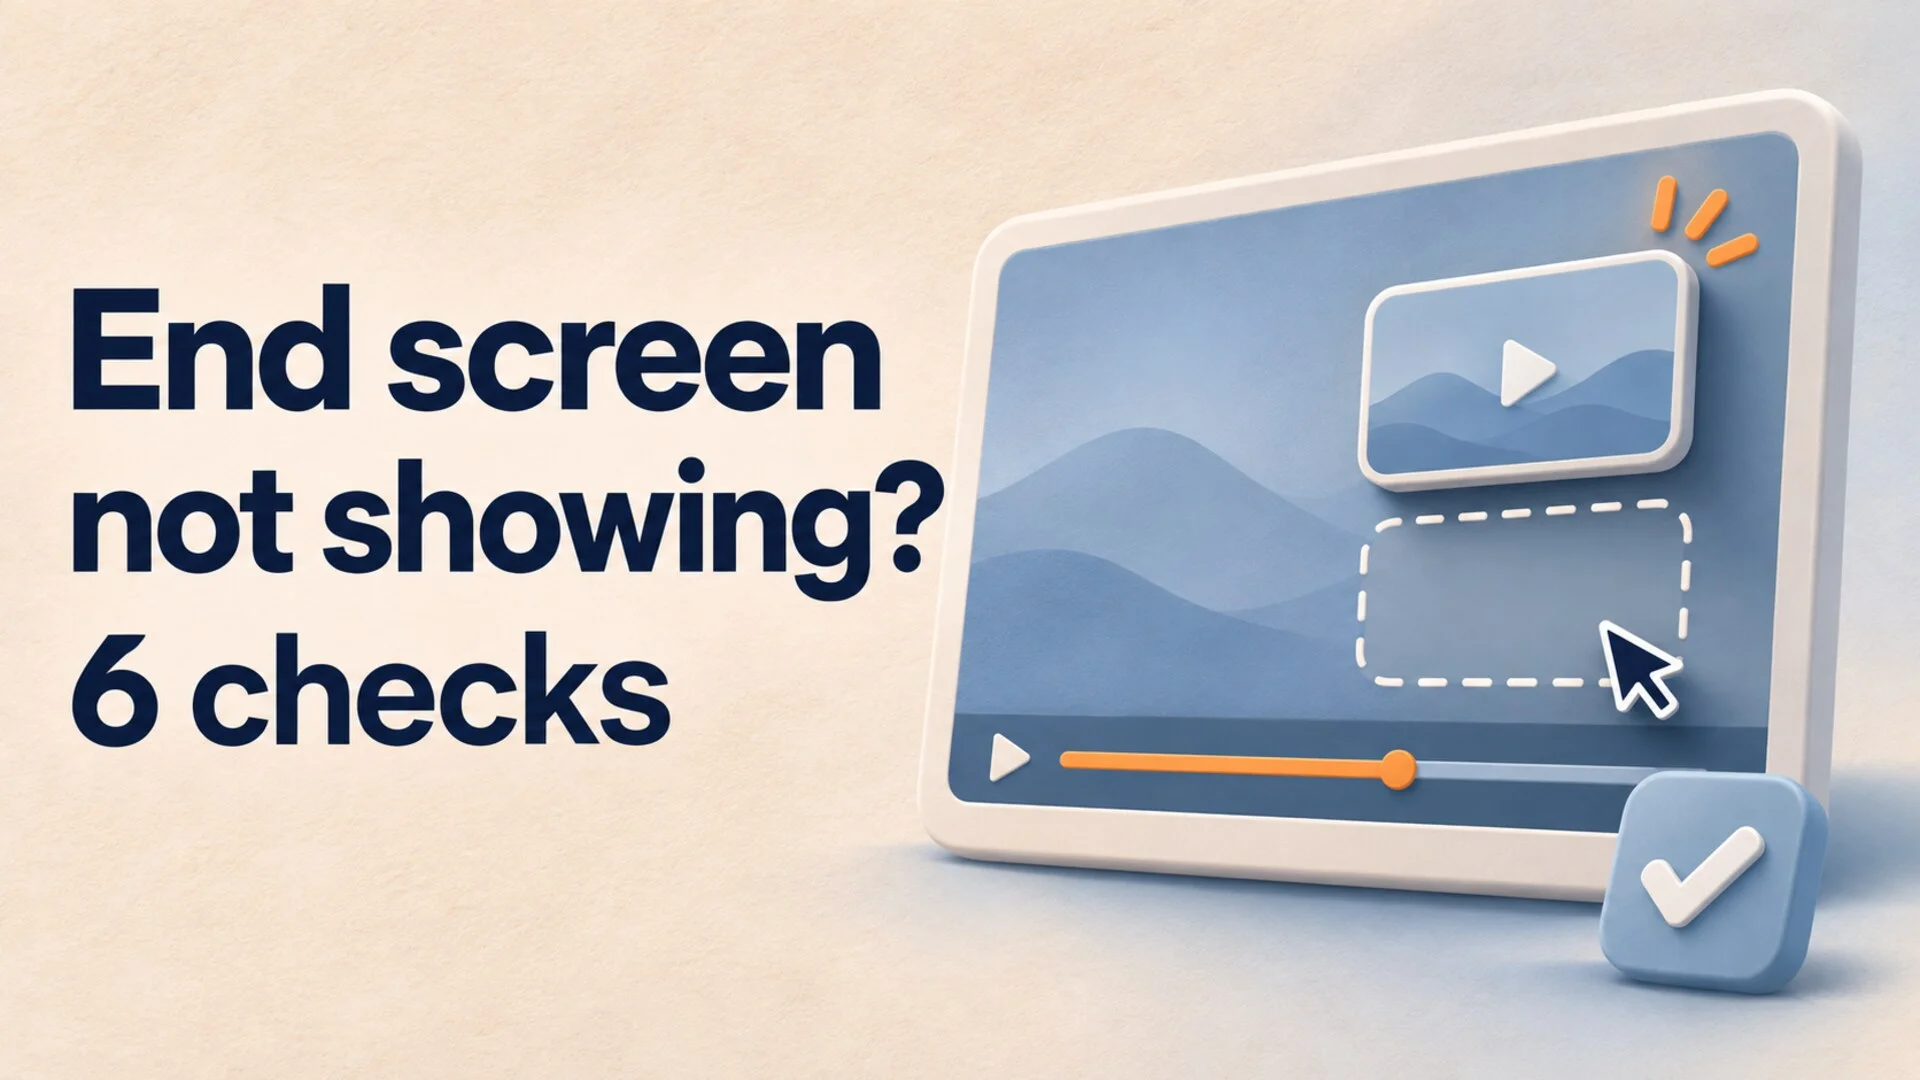
The next-video box appears in your editing preview, but the uploaded video ends with nothing clickable. Before rebuilding the outro, work out what is missing: the artwork, the saved YouTube element, or its display in one particular viewing session.
Those are different problems. A rendered rectangle can look like a recommendation without being a link. A saved link can also fail to appear in a particular playback context. Low clicks are a third issue and do not, by themselves, prove that the link is broken.
For a long-form faceless channel, start with one affected video and one repeatable test. You want evidence about the fault before spending time on another export.
YouTube End Screen Not Showing: Start Here
Use this table to choose the first check. The numbers refer to the sections below.
| What you observe | First check | What to record |
|---|---|---|
| A thumbnail is visible but cannot be clicked | 1: Artwork versus element | Whether Studio contains a saved element |
| The screen appears on one device but not another | 2: Playback context | App or browser, device, and video URL |
| It appeared once, then disappeared | 3: Viewer controls | Whether Show restores it |
| It appears at the wrong moment | 4: Final-file timing | Actual duration and element start time |
| It appears but covers the final explanation | 5: Composition | Which essential detail is obscured |
| It looks correct but gets few clicks | 6: Performance | Element click rate and ending retention |
Keep the original upload available while investigating. Replacing a video gives you a new test object and makes it harder to compare what changed.
1. Separate the Outro Artwork From the Clickable Element
Open the downloaded video file outside YouTube. Any boxes or thumbnails you see there are baked into the picture. They do not become links merely because the file has been uploaded.
In Studio, select the video under Content, open Editor, then End screen. Add the intended element and save. That is where the interactive layer is configured; YouTube's end-screen instructions document the controls.
For diagnosis, use a single video element rather than rebuilding a complicated layout. This reduces the number of things you have to inspect.
Make a two-line note:
- Exported picture: space reserved on the right.
- YouTube element: saved video link placed in that space.
If the second line is missing, the next action belongs in Studio. Another render of the same artwork will not add the interactive layer.
2. Check the Video and Playback Context
YouTube documents a minimum video length of 25 seconds and an end-screen window in the final 5-20 seconds. Made-for-kids videos, 360 videos, YouTube Music, and most mobile-web playback do not support end screens; iPad mobile web is an exception.
Check the audience designation accurately. Do not change it simply to unlock a feature.
For a practical comparison, play the same URL on a desktop watch page and in the YouTube mobile app. Record the result separately for each. If one works, you have useful evidence against a missing element being the sole cause.
Also verify that you are opening the intended upload. Similar titles, test versions, and old links can make two people think they are inspecting the same video when they are not. Copy the URL into your notes rather than relying on the title.
3. Look for a Hidden End Screen
Viewers can dismiss the overlay. YouTube's explanation of Hide and Show says hiding applies to that video during that viewing, rather than switching off every end screen permanently.
If the player offers Show, use it before changing the upload. Then test again without dismissing the overlay.
Treat the editor preview and the watch page as separate observations. The preview helps inspect configuration; actual playback helps inspect what a viewer sees. If they disagree, record both results instead of assuming the exported file is corrupt.
YouTube also cautions that presentation can vary with device and context. A single missing appearance is therefore a reason to compare conditions, rather than proof that the whole channel needs new outro files.
4. Measure Against the Final File
Here is a worked example using an invented 12-minute explainer.
The first export ends at 12:00. You plan a 15-second end screen beginning at 11:45. During revision, you remove eight seconds from the introduction, so the final file ends at 11:52.
A 15-second ending now starts at 11:37:
11:52 - 00:15 = 11:37
If your production notes still say 11:45, they describe only seven seconds before the new ending. The arithmetic changed even though the closing narration did not.
Inspect the duration of the uploaded version, then compare:
- When the spoken invitation begins.
- When the picture leaves room for the overlay.
- When the saved element actually starts.
Write those three times beside each other. They need to agree on the intended moment, rather than matching a timestamp copied from an earlier draft.
This is the same reason YouTube chapter timestamps need a final timing pass after cuts. For recurring uploads, make the final-file duration a required field in your release notes.
5. Check What the Overlay Covers
Sometimes the element is working and the ending is badly composed.
Imagine a science explainer whose final diagram contains the answer. A recommendation placed over that diagram forces the viewer to choose between reading the conclusion and looking at the next video. Moving the diagram earlier, or leaving a quiet area beside it, is a clearer fix than adding brighter arrows.
Inspect a still frame from the actual ending with the element visible. Ask whether a viewer can still understand the final sentence. Pay particular attention to maps, captions, labels, and source credits.
YouTube's Hide announcement specifically encourages creators to keep overlays away from crucial visuals. For your own layout, use a simple rule: the ending must remain understandable both with and without the interactive box.
A broader AI video quality checklist can catch mismatches elsewhere, but this test should focus on the last scene.
6. Separate Low Clicks From Missing Display
An end screen that appears correctly can still receive little attention. Open the individual video's Analytics and inspect Engagement. YouTube's engagement documentation identifies the end-screen element click-rate report and the audience-retention report as separate views of viewer behavior.
Use them to ask two different questions: are people staying until the ending, and do the people shown the element choose it?
For a hypothetical diagnostic exercise, compare these situations:
- The retention graph falls before your invitation. Investigate whether the ending feels finished too early.
- Viewers remain through the invitation, but the next-video choice gets little response. Investigate whether that destination answers a relevant next question.
These are working hypotheses, not universal explanations. Avoid importing a channel-wide click-rate target from another niche. Compare similar videos on your own channel, and change one thing at a time.
Do not rewrite the whole outro, swap the destination, and change the layout simultaneously. You would lose the ability to tell which change mattered.
Where AutoTube.pro Helps With Repeatable Endings
AutoTube.pro is one option for creators who want more consistent long-form production around this publishing check. The useful connection here is preparation, rather than a promise to fix YouTube's player.
Its channel automation settings let you reuse script-style and production defaults across uploads. Use your script instructions to define a restrained ending: finish the answer, offer one relevant continuation, and avoid a long list of unrelated requests.
The long-form script writer provides structured outlines and research-backed narration. That can help you plan the closing thought alongside the rest of the episode, rather than improvising it after the video is complete. Review the generated ending to make sure it actually follows your instructions.
The clickable end-screen element still needs its own check in YouTube Studio. Keep that responsibility explicit in your publishing process.
For a channel with several series, save a short ending brief for each format. A narrated sleep-history episode might call for a quiet continuation; a practical explainer might point to the next problem the viewer needs to solve. Reusing the tone is helpful. Repeating an irrelevant recommendation on every upload is not.
If you already have a dependable production setup, a written release checklist may be enough. The benefit of a shared production system grows when repeated setup work is the bottleneck.
Test One Ending Before Changing the Channel
Pick one affected upload and run the six checks in order. Stop when you have isolated a cause you can act on.
Record the video URL, final duration, saved element, tested playback context, and observed result. After correcting the issue, repeat the same test. If the problem persists, that record gives you a specific case to take to YouTube support instead of a vague report that end screens never work.
For your next long-form episode, consider a reusable production setup if repeating script instructions is slowing you down. Keep the final publishing check small: confirm the link exists, watch the ending, and verify that the recommendation serves the viewer.